Electric vehicles (EVs) are gaining popularity in India due to their eco-friendliness and cost-effectiveness. One of the key benefits of owning an EV is the convenience of charging it at home. This guide will walk you through the steps to set up a home charging station and charge your EV efficiently and safely.
Why Charge Your EV at Home?
Charging your EV at home offers several advantages:
- Convenience: Charge your vehicle overnight while you sleep.
- Cost Savings: Electricity rates are often lower than public charging station fees.
- Flexibility: No need to rely on the availability of public charging infrastructure.
- Environmental Impact: Home charging can reduce carbon footprints, especially if paired with solar energy systems.
Step 1: Understand Your EV’s Charging Requirements
Every EV comes with specific charging requirements. These include:
- Battery Capacity: Determines how long it takes to charge your vehicle fully. For instance, a 40 kWh battery will take longer to charge than a 20 kWh battery.
- Charging Port Type: Common types include Type 1, Type 2, and CCS. Verify the compatibility of the charger with your EV model.
- Charging Speed: EVs can charge at Level 1 (slow), Level 2 (faster), or DC fast charging (not typically for home use). For example, a Level 2 charger can add 20-30 km of range per hour.
Check your vehicle’s manual or consult the manufacturer’s website for details.
Step 2: Evaluate Your Home’s Electrical Setup
Ensure your home’s electrical system can handle the additional load of charging an EV. Key considerations include:
- Electricity Supply: Most EV home chargers require a single-phase or three-phase connection. Single-phase is common in most Indian households, but three-phase may be necessary for faster charging.
- Circuit Capacity: Verify that your home’s circuits can support the charger without tripping. For instance, a Level 2 charger may require a dedicated 32-amp circuit.
- Professional Assessment: Consult a licensed electrician to assess and upgrade your electrical system if needed. This is crucial to avoid overloading your system.
Step 3: Choose the Right Home Charger
There are two main types of home chargers:
- Level 1 Charger:
- Uses a standard 230V outlet.
- Ideal for low daily mileage.
- Slower charging speed (6-8 hours for a partial charge).
- Suitable for small EVs or plug-in hybrids.
- Level 2 Charger:
- Requires a dedicated 240V outlet.
- Faster charging (4-6 hours for a full charge).
- Recommended for regular EV users and larger battery capacities.
- Often equipped with smart features like Wi-Fi connectivity and mobile apps for scheduling and monitoring.
Compare chargers based on features like smart connectivity, energy monitoring, cable length, and warranty.
Step 4: Install Your Home Charger
- Hire a Professional: Always engage a certified electrician to install the charger. They will ensure compliance with safety standards and prevent potential hazards.
- Select a Location: Choose a spot close to your parking area and ensure it’s weatherproof. For outdoor setups, use chargers with an IP65 rating or higher.
- Set Up Proper Grounding: Proper grounding prevents electrical hazards. Indian regulations mandate an earthing system for all charging installations.
- Follow Local Regulations: Comply with India’s safety standards and electricity board requirements. Obtain necessary approvals if required.
- Test the Installation: Ensure the charger is functioning correctly before regular use.
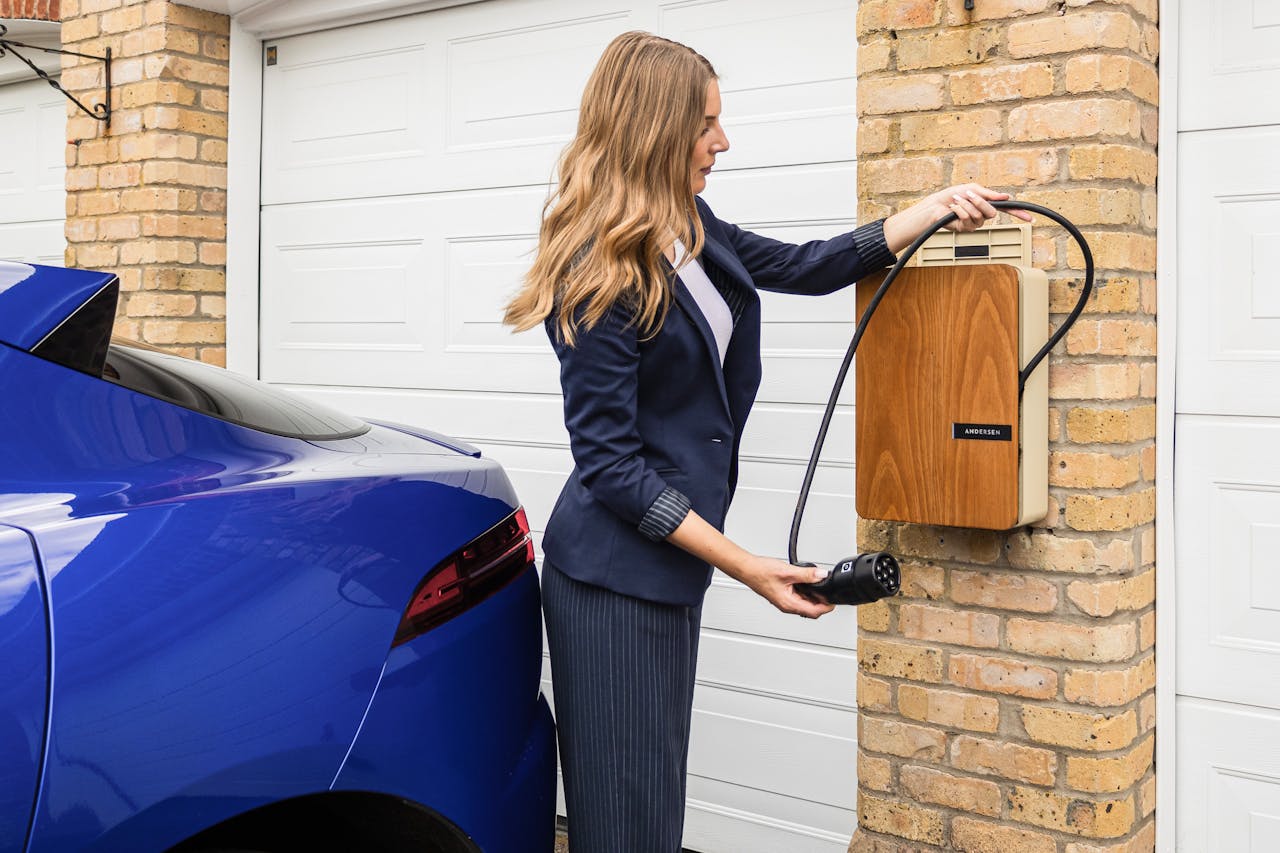
Step 5: Charge Your EV Safely
- Connect the Charger: Plug the charger’s connector into your EV’s charging port securely. Ensure there are no obstructions.
- Monitor Charging: Use the EV’s dashboard or app to check charging status. Many modern EVs offer notifications once charging is complete.
- Unplug After Charging: Disconnect the charger to prevent unnecessary power usage and wear on the connector.
- Store the Cable Properly: Coil the cable neatly to avoid damage and keep the area tidy.
Tips for Efficient EV Charging at Home
- Charge During Off-Peak Hours: Electricity rates are lower at night in many states. Check with your local electricity provider for time-of-day tariffs.
- Use Smart Chargers: These can schedule charging and track energy consumption, optimizing your charging routine.
- Maintain Your Charger: Regularly inspect the charger and cable for wear and tear. Replace any damaged components immediately.
- Keep the Area Safe: Avoid clutter, ensure the charging area is dry and clean, and keep the charger out of children’s reach.
- Pair with Solar Panels: Installing solar panels can further reduce your electricity costs and make your EV truly green.
Cost of Setting Up a Home Charging Station in India
- Level 1 Charger: Minimal cost as it uses existing outlets. Installation is typically less than INR 10,000.
- Level 2 Charger: Costs range from INR 30,000 to INR 70,000, including installation. Additional upgrades to your home’s electrical system may cost INR 10,000 to INR 50,000 depending on the complexity.
- Solar Integration: Adding a solar panel system may cost INR 1,00,000 to INR 5,00,000 but offers long-term savings.
While the initial investment may seem high, home charging can significantly reduce your vehicle’s running costs in the long run. For instance, charging an EV at home can cost as low as INR 1.5 per km compared to petrol or diesel costs.
Conclusion
Charging your EV at home is not only convenient but also cost-effective. By following this step-by-step guide, you can set up a safe and efficient home charging station. As India continues to embrace electric mobility, being equipped to charge at home ensures you stay ahead in the transition to cleaner and greener transportation.
Start today and enjoy the seamless experience of owning an electric vehicle. Consider additional enhancements like solar power integration and smart chargers to maximize your savings and sustainability!